Physical Address
304 North Cardinal St.
Dorchester Center, MA 02124
Physical Address
304 North Cardinal St.
Dorchester Center, MA 02124

Your first 3D print will fail. Your second one probably will too. But that shouldn’t stop you from setting up a home workshop that’ll transform how you approach making, fixing, and creating. The barrier to entry has never been lower—quality printers start at $200, and the learning curve is gentler than ever thanks to automated features that handle calibration and bed leveling.
The key isn’t buying the most expensive equipment. It’s creating a workspace that grows with your skills and keeps you printing consistently. After helping dozens of makers set up their first workshops in 2025 and 2026, I’ve learned that success comes down to smart space planning, choosing the right first printer, and building systems that prevent the common frustrations that make people quit.
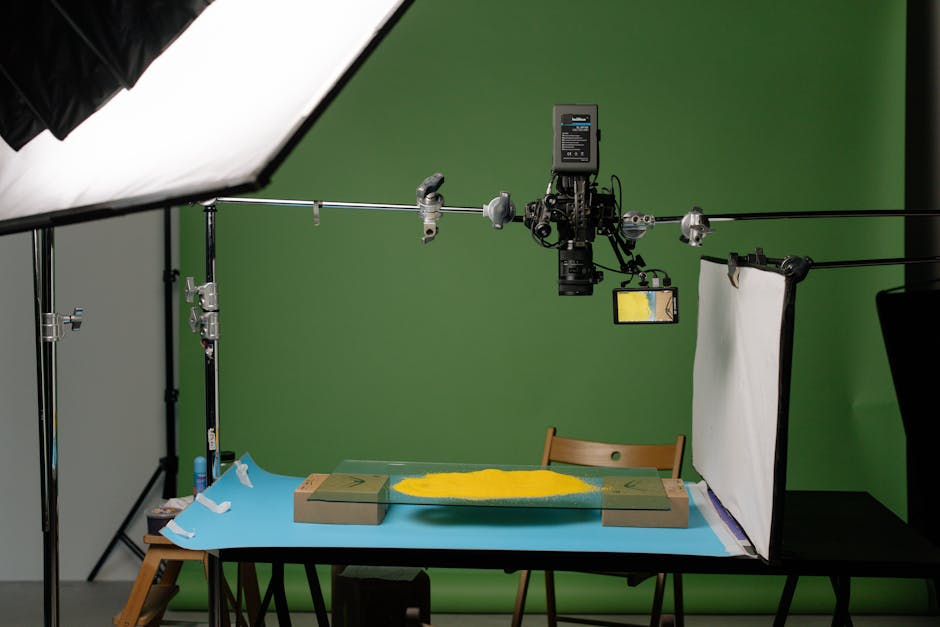
The Bambu Lab A1 Mini ($299) dominates beginner recommendations for good reason. Its automatic bed leveling, filament detection, and error recovery systems eliminate most setup headaches. The 180 × 180 × 180mm build volume handles 90% of beginner projects, from phone stands to replacement parts. Its mobile app lets you start prints remotely and monitor progress.
For slightly more capability, the Prusa MINI+ ($449) offers proven reliability and exceptional customer support. Prusa’s documentation is legendary, and their community troubleshooting resources will save you hours when things go wrong. The magnetic flexible steel sheet makes part removal effortless.
Skip the Ender 3 variants unless you genuinely enjoy tinkering. While they’re cheaper ($179-220), they require constant calibration and modifications to print reliably. That’s fine for hobbyists who love the mechanical side, but frustrating if you want to focus on creating things.
Your essential starter kit includes:
– PLA filament in white, black, and one accent color (Hatchbox PLA at $25/kg offers consistent quality)
– Flush cutters for support removal ($12-15)
– Metal spatula for part removal ($8-10)
– Isopropyl alcohol (91% minimum) for bed cleaning
– Glass bed if your printer doesn’t include one ($15-25)
Filament storage makes or breaks long-term printing success. PLA absorbs moisture from air, causing poor adhesion and stringing. The Sunlu S1 filament dryer ($89) handles wet filament, while vacuum bags with desiccant packets prevent moisture absorption for storage.
IKEA’s SAMLA containers ($15-20 each) fit most 1kg spools perfectly. Add rechargeable silica gel packets ($12 for a 10-pack) to maintain low humidity. Label everything—after six months, that mystery filament becomes expensive decoration.
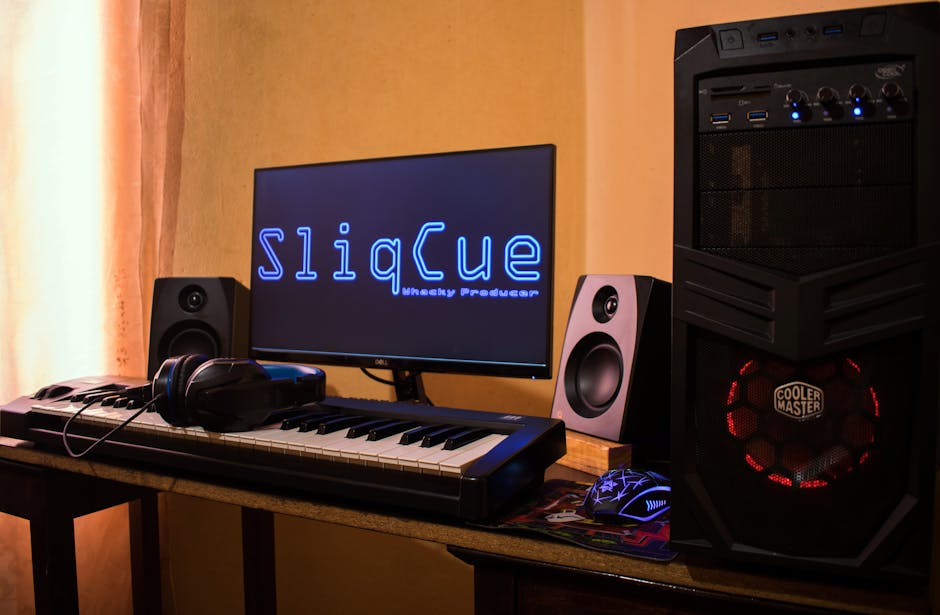
Location determines everything. Basements seem appealing but often lack proper ventilation. PLA produces minimal fumes, but ABS and PETG require active air circulation. A spare bedroom, garage corner, or dedicated office space works better than cramped quarters where you’ll constantly fight for access.
Your printer needs a solid, vibration-free surface. The IKEA BROR shelving system ($89 for a complete unit) provides stability and storage. Place your printer on the top shelf with filament storage below. Allow 6 inches clearance on all sides for maintenance access.
Power requirements are straightforward—most home printers draw 100-200 watts, similar to a laptop. Use a surge protector with individual switches to control multiple devices. The CyberPower CP1500PFCLCD ($200) includes both surge protection and battery backup for power outages mid-print.
Even “safe” PLA releases ultrafine particles during printing. Position your workspace near a window or install a small exhaust fan. The AC Infinity CLOUDLINE T4 ($89) moves 205 CFM while staying whisper-quiet. For enclosed spaces, add a HEPA air purifier—the Levoit Core 300 ($89) covers up to 219 square feet effectively.
Never print ABS or ASA without proper ventilation. These materials release styrene vapors that cause headaches and respiratory irritation. If you plan to print these materials, invest in an enclosure with active filtration like the Creality Enclosure ($149) paired with a carbon filter system.
Slicing software converts 3D models into printer instructions. PrusaSlicer (free) works with any printer brand and includes profiles for hundreds of machines. Its default settings produce excellent results, while advanced features grow with your skills.
Download your first models from Printables.com or Thingiverse. Start with simple, functional items: phone stands, cable organizers, or replacement parts. Avoid miniatures or complex mechanical assemblies until you understand your printer’s capabilities.
Your first print workflow:
1. Download and inspect the STL file in PrusaSlicer
2. Select appropriate print settings (0.2mm layer height for beginners)
3. Generate supports only if overhangs exceed 45 degrees
4. Preview the toolpath to check for issues
5. Save to SD card or send directly via network
Expect your first few prints to fail. Bed adhesion problems, filament tangles, and power outages happen to everyone. Keep a printing journal noting successful settings and failure causes. This becomes invaluable when troubleshooting later.
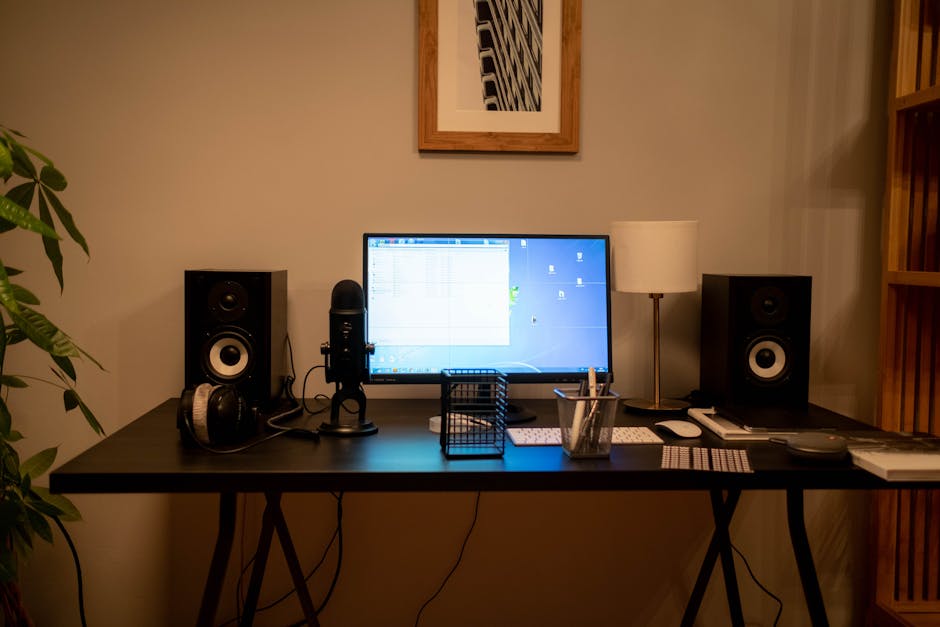
Resist immediate upgrade temptation. Learn your printer’s baseline performance before modifying anything. After 20-30 successful prints, consider these improvements based on your experience:
All-metal hotend upgrades ($45-80) enable higher temperature materials like PETG and ABS. The Micro Swiss hotend for popular printers maintains reliability while expanding material options.
Automatic bed leveling sensors ($25-50) eliminate manual tramming. The BLTouch or CR Touch probe the bed surface and compensate for irregularities. Installation requires basic wiring skills but dramatically improves first-layer consistency.
Flexible build plates ($20-40) make part removal effortless. Spring steel sheets with PEI coating provide excellent adhesion when heated and release parts easily when cooled. They’re worth buying immediately for any printer without this feature.
Start with quality PLA in essential colors. Hatchbox, Overture, and Sunlu offer consistent diameter tolerance and color matching. Avoid novelty filaments (wood-fill, metal-fill) until you master basic materials.
PETG ($28-35/kg) offers chemical resistance and clarity for functional parts. It’s slightly more challenging than PLA but produces stronger, more durable results. Prusament PETG provides exceptional quality with detailed printing guidelines.
Support materials like PVA or HIPS ($40-60/kg) enable complex geometries by creating soluble or breakaway supports. These require dual-extrusion printers or manual swapping, making them intermediate-level additions.
Regular maintenance prevents major failures and maintains print quality. Weekly tasks include cleaning the build surface with isopropyl alcohol and checking belt tension. Monthly maintenance involves lubricating linear rods and inspecting the extruder gear for wear.
Keep spare parts on hand: nozzles ($15 for a 10-pack), PTFE tubing ($10-15), and thermistor cartridges ($8-12). Most failures involve these consumable components, and having spares prevents extended downtime.
Document everything. Photograph successful prints with their settings. Note which filament brands work well and which cause problems. Track total printing hours to anticipate component replacement schedules.
Your first 3D printing workshop doesn’t need every gadget or the latest printer. Focus on reliable equipment, proper ventilation, and organized storage. Start with a proven printer like the Bambu A1 Mini, learn its capabilities thoroughly, then expand based on your actual needs rather than imagined requirements. The most successful workshops grow gradually, adding capability as skills develop. With this foundation, you’ll be printing functional parts and creative projects within your first month.