Physical Address
304 North Cardinal St.
Dorchester Center, MA 02124
Physical Address
304 North Cardinal St.
Dorchester Center, MA 02124
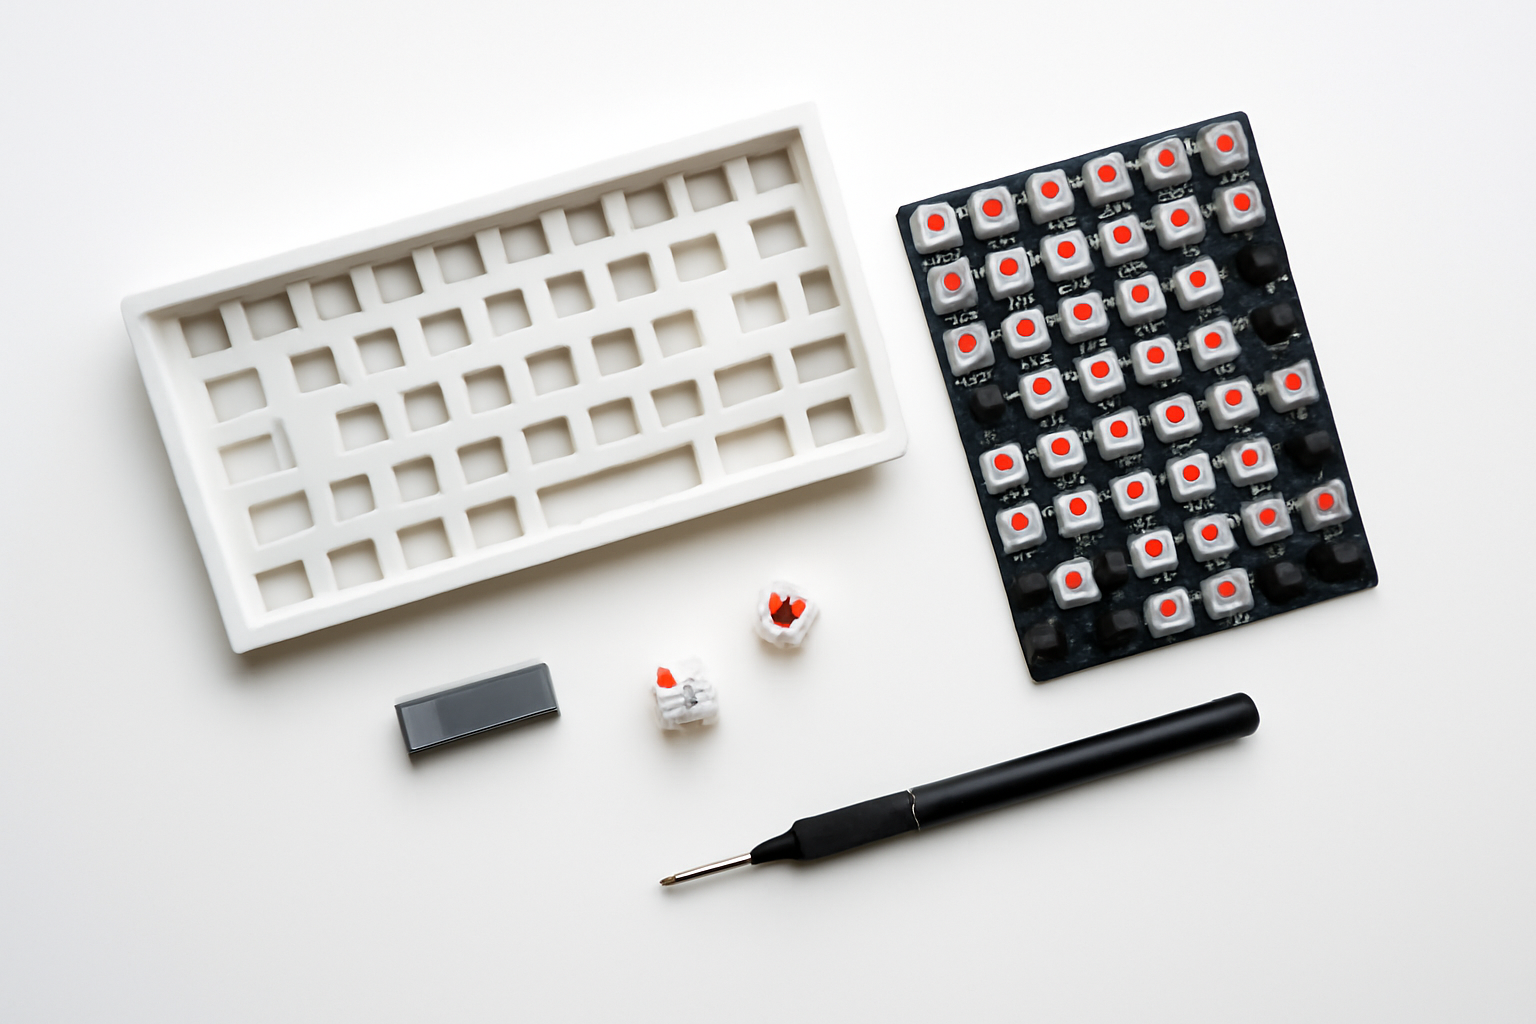
Building a custom mechanical keyboard is like crafting a digital instrument that perfectly suits your typing style. Whether you’re a programmer spending hours coding, a writer crafting the next great novel, or a gamer seeking that competitive edge, a custom mechanical keyboard offers unparalleled tactile satisfaction and personalization options that off-the-shelf boards simply can’t match.
The world of custom keyboards has exploded in recent years, transforming from a niche hobby into a thriving community of enthusiasts sharing designs, modifications, and builds. Unlike mass-produced keyboards, building your own allows you to choose everything from the switch type and keycap material to the case design and lighting effects. It’s an investment in both functionality and personal expression.
In this comprehensive guide, we’ll walk you through every step of building your first custom mechanical keyboard from scratch. From understanding the essential components to assembly tips and troubleshooting, you’ll have all the knowledge needed to create a keyboard that’s uniquely yours. The process might seem intimidating at first, but with the right guidance and patience, even beginners can build a professional-quality custom keyboard.
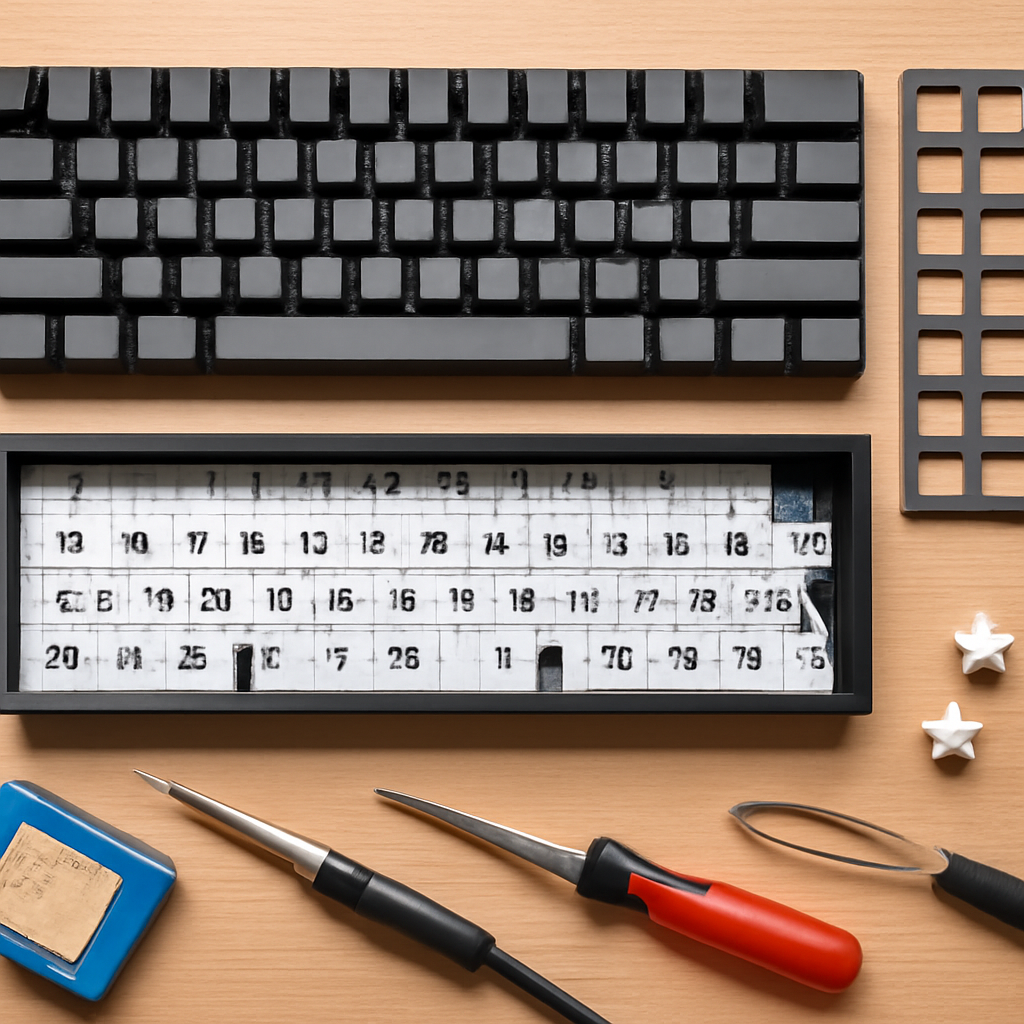
Before diving into the build process, it’s crucial to understand the five core components that make up any mechanical keyboard: the PCB (Printed Circuit Board), switches, keycaps, stabilizers, and the case. Each component plays a vital role in the keyboard’s functionality, feel, and aesthetics.
The PCB serves as the foundation of your keyboard, containing all the electrical connections and circuits that register your keystrokes. When selecting a PCB, you’ll need to consider several factors:
Popular beginner-friendly PCBs include the DZ60 for 60% builds and the KBD67 Lite for 65% layouts. These offer excellent build quality, hotswap sockets, and extensive community support.
Switches determine how your keyboard feels and sounds with each keystroke. They come in three main categories:
For your first build, consider starting with popular options like Gateron Yellow Pro switches for linear feel or Durock T1 for tactile preference. These offer excellent performance at reasonable prices.
Keycaps significantly impact both the look and feel of your keyboard. They’re available in various materials, profiles, and printing methods, each offering different characteristics.
The two most common keycap materials are ABS (Acrylonitrile Butadiene Styrene) and PBT (Polybutylene Terephthalate). PBT keycaps are generally preferred for their durability and resistance to shine, while ABS caps offer brighter colors and smoother surfaces.
Keycap profiles affect typing comfort and aesthetics. Popular profiles include:
Stabilizers prevent larger keys like the spacebar, shift, and enter keys from wobbling or binding. Quality stabilizers are essential for a premium typing experience. Durock V2 stabilizers are highly recommended for beginners due to their pre-clipped design and smooth operation.
Proper stabilizer preparation involves clipping, lubing, and tuning. This process reduces rattle and ensures consistent key feel across all stabilized keys.
Having the right tools makes the building process much smoother and more enjoyable. Here’s what you’ll need for a successful build:
Prepare a clean, well-lit workspace with adequate ventilation, especially if you’ll be soldering. An anti-static mat can protect sensitive electronic components during assembly.
Now that you have all your components and tools ready, let’s walk through the assembly process step by step.
Before installing any components, test your PCB to ensure all switch positions register correctly. Connect the PCB to your computer and use a switch tester website or keyboard testing software. Short each switch position with tweezers to verify functionality.
If your PCB includes per-key RGB lighting, this is also a good time to test the LEDs before proceeding with assembly.
Install stabilizers before switches, as they’re much harder to access afterward. For screw-in stabilizers, insert them into the designated slots and secure with the provided screws. Plate-mount stabilizers simply clip into place.
Apply a small amount of lubricant to the stabilizer housing and wire contact points. This significantly reduces rattle and improves the feel of larger keys.
For hotswap PCBs, simply align the switch pins with the sockets and press firmly until they click into place. Ensure switches are properly seated and aligned before moving to the next one.
If soldering switches, work systematically across the board. Heat both the switch pin and PCB pad simultaneously, then apply solder to create a clean, shiny joint. Avoid cold solder joints, which can cause intermittent connectivity issues.
Mount the PCB in your chosen case according to the manufacturer’s instructions. Some cases use standoffs and screws, while others rely on a gasket mount or tray mount system. Don’t overtighten screws, as this can cause the PCB to bow and affect switch alignment.
Consider adding foam dampening material to reduce case ping and hollow sounds. This simple modification significantly improves the acoustic properties of most keyboards.
Modern custom keyboards rely on firmware like QMK (Quantum Mechanical Keyboard) or VIA for advanced functionality and customization. These tools allow you to remap keys, create macros, and adjust lighting effects.
VIA provides a user-friendly graphical interface for real-time keyboard customization. Download the appropriate firmware for your PCB and flash it using QMK Toolbox. Once installed, VIA can detect your keyboard and allow instant modifications.
Common customizations include creating function layers, programming macros, and setting up tap-dance keys that perform different actions based on the number of taps.
After assembly, thoroughly test every key to ensure proper functionality. Common issues include:
A well-built custom keyboard can last for decades with proper maintenance. Regularly clean keycaps with mild soap and water, and protect the PCB from spills and dust. The modular nature of custom keyboards means you can easily upgrade individual components as your preferences evolve.
Popular upgrades include switching to higher-end keycaps, experimenting with different switch types, or adding sound dampening materials for improved acoustics.
Building your first custom mechanical keyboard is an rewarding journey that combines technical skills with creative expression. While the initial investment might seem substantial, the result is a personalized typing experience that far exceeds any mass-produced keyboard.
Take your time during the build process, don’t be afraid to ask for help in online communities, and remember that mistakes are part of the learning experience. Each build teaches valuable lessons that will improve your skills for future projects. Welcome to the wonderful world of custom keyboards – your fingers will thank you!